How to Make a Mickey Rope Light
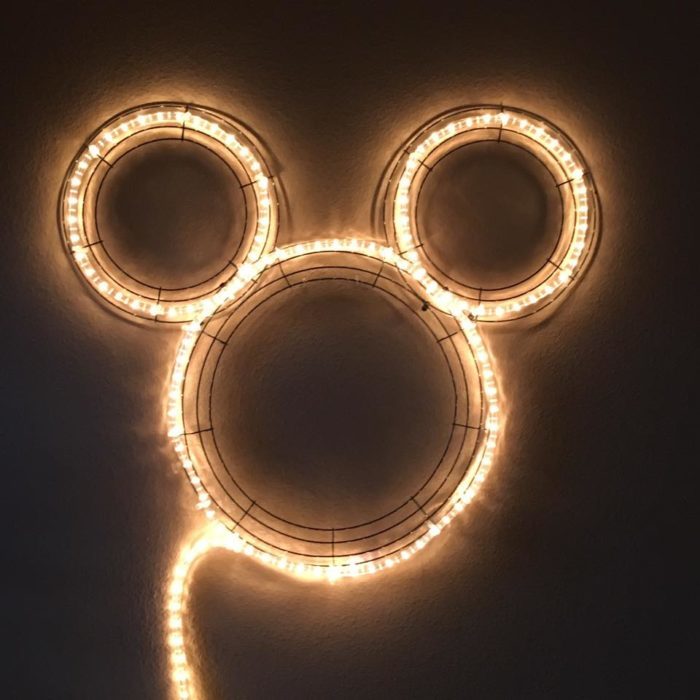
Adding Magic to Your Home Decorations!
If you are interested in sprucing up your home with your favorite Disney character, here is a simple Mickey project that will take about an hour to do.
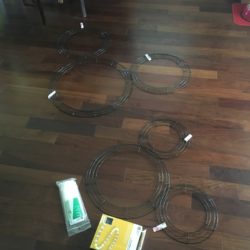 Items you will need:
- One 18 inch wire wreath frame
- Two 12 inch wire wreath frames
- 5″ plastic cable ties (white for white, but black can work well too)
- One 12 foot rope light (18 foot rope lights work too) – we used white, but you can choose your colors.
- Scissors or wire cutter
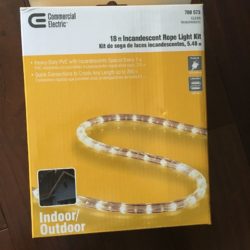 Note: You can buy the above items at your local crafts store (Michael’s, Joanne’s, Holly Hobby) or even Home Depot or Lowes. We bought these items from Home Depot.
Rope lights are sometimes hard to find unless it’s the Christmas holiday time frame. But if you buy online, do not buy fiber optic lights or LED flat ropes as they tend to not work well when you have to bend the rope light to make the circles .
Step 1: Making the Mickey face out of wire frames
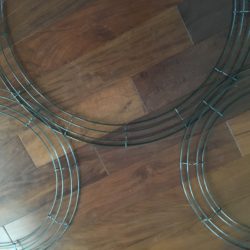
Place the Mickey face (18 inch wire wreath frame) and the 2 Mickey ears (two 12″ wire wreath frames) in position. We found it easier to “tuck” the ears in between the face wire frame outer rings to secure the ears. Note the image next to “Items.”
Step 2: Connecting the wire frames
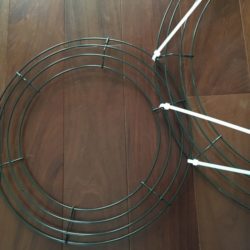
Taking your cable ties, tie the frames together. We used 4 ties per ear, but it doesn’t matter. You just want the ears to be secure.
Step 3: Cleaning Up
Use scissors or wire cutters to cut the “tails” off the wire ties. Then use your fingers to twist the wire ties so that the little locking block is facing the backside of the wreath. Be careful not to snip the rope light. You won’t want to get to the end of the project and the light not work.
Step 4: Begin attaching the light rope.
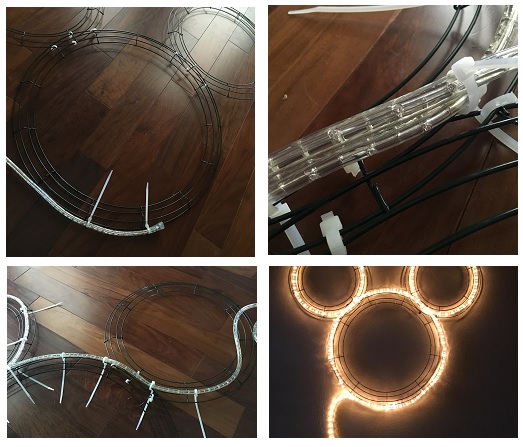
- Start with the plug at the bottom of the Mickey face, going clockwise and use the cable ties to attach the lights to the outer wire on the 18 inch ring. When you get to the smaller ring (the ear), continue around the outer edge of the larger ring and then turn to go up the far side of the ear. (NOTE: We used the middle, raised ring in the above final image, but we had more “tail” left over, so use the outer ring to use more of the 18″ light rope).
- When you need to cross over one ear to go onto the second ear, you need to lay the rope directly over the bottom rope so that they overlap. Be sure to attach those two ropes together along with the wire frame. This way you will only see one strand when they are lit up.
- Then continue onto the top part of the head and then onto the right side of the second ear, making sure that you continue to attach the light rope with the cable ties.
- You will have extra light rope when you reach the bottom of the Mickey wreath, so be sure to overlap the light rope some to make sure that you complete the circle around the wire wreath.
Step 5: Cleaning Up
With all of the light rope connected, use scissors or wire cutters to cut the “tails” off the wire ties. Then use your fingers to twist the wire ties so that the little locking block is facing the backside of the wreath.
Step 6: Display with pride!

You can simply hang it on a wall, on a fence, from a tree or attach the grill of your RV, but if you want to put these on a stand, Michael’s carries inexpensive stand.
When you’ve made your Mickey light rope wreath, post it on our Facebook page… we’d love to see your finished products! https://www.facebook.com/DisneySpringsHotels/
Tags: christmas decorations, holiday decorations, outdoor decorationsCategorized in: Magic at Home


